Selenium WebDriver with Visual Studio
Its a basic tutorial to show how to work with Selenium WebDriver and Visual Studio:
In Visual Studio (I have Visual Studio Professional 2013), go to File (Menu) -> New -> Project.
In New Project dialog (see below), create a new Unit Test Project under Visual C#.
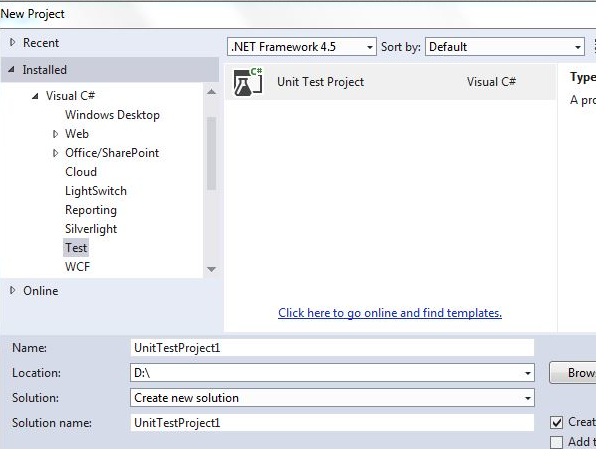
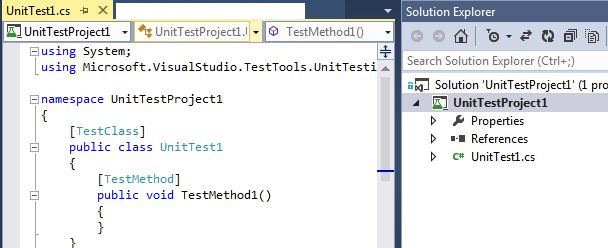
Click ok in the above New Project dialog. Project is now open as can be seen below.
Right click on Solution and click Manage NuGet Packages for Solution.

Search for and install 'Selenium WebDriver' and 'Selenium WebDriver Support Classes'.

After successful installation, verify that references for WebDriver and WebDriver Support are added.

Write code (for example below code) in the new project we created and run it. It should work!
